-
The best coffee for drip coffee maker: Top 5
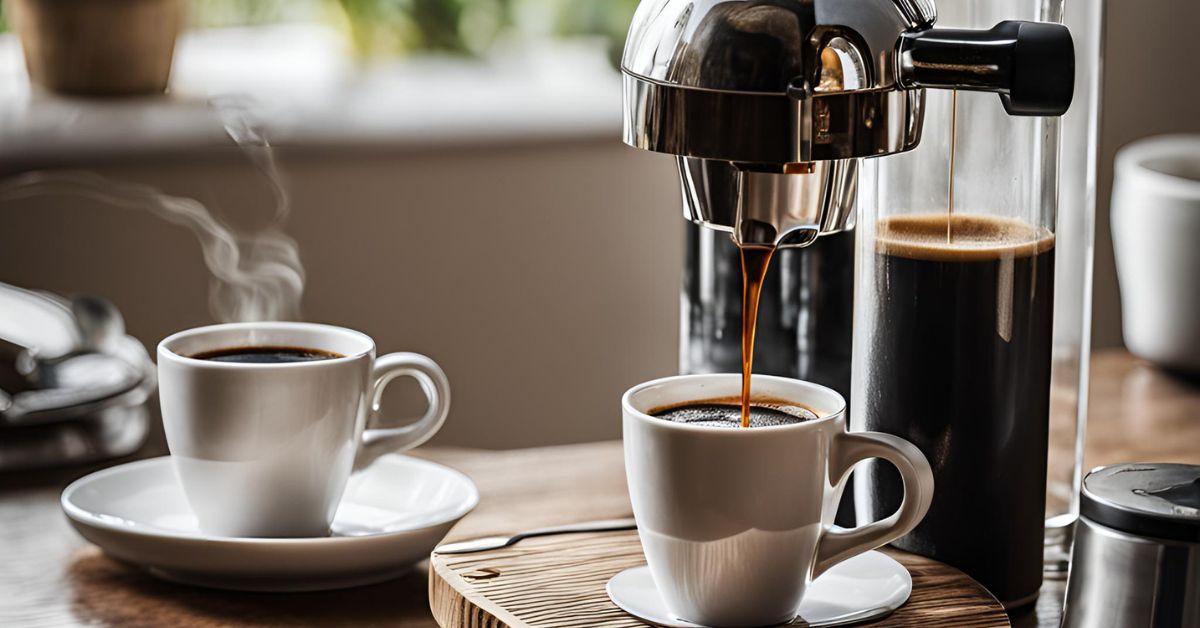
If you are an avid coffee drinker, it the important to locate…
-
How to clean maker without vinegar?
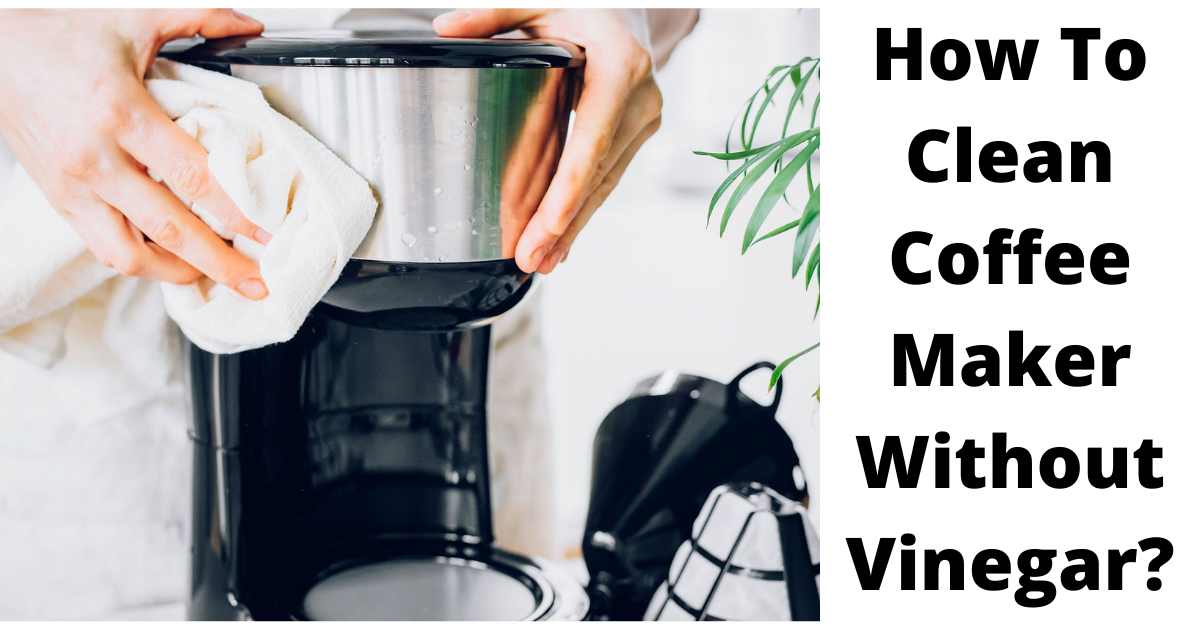
Keeping your espresso maker smooth is vital for ensuring the first-rate taste…
-
Coffee Beans vs Cocoa Beans: Exploring Their Unique Worlds
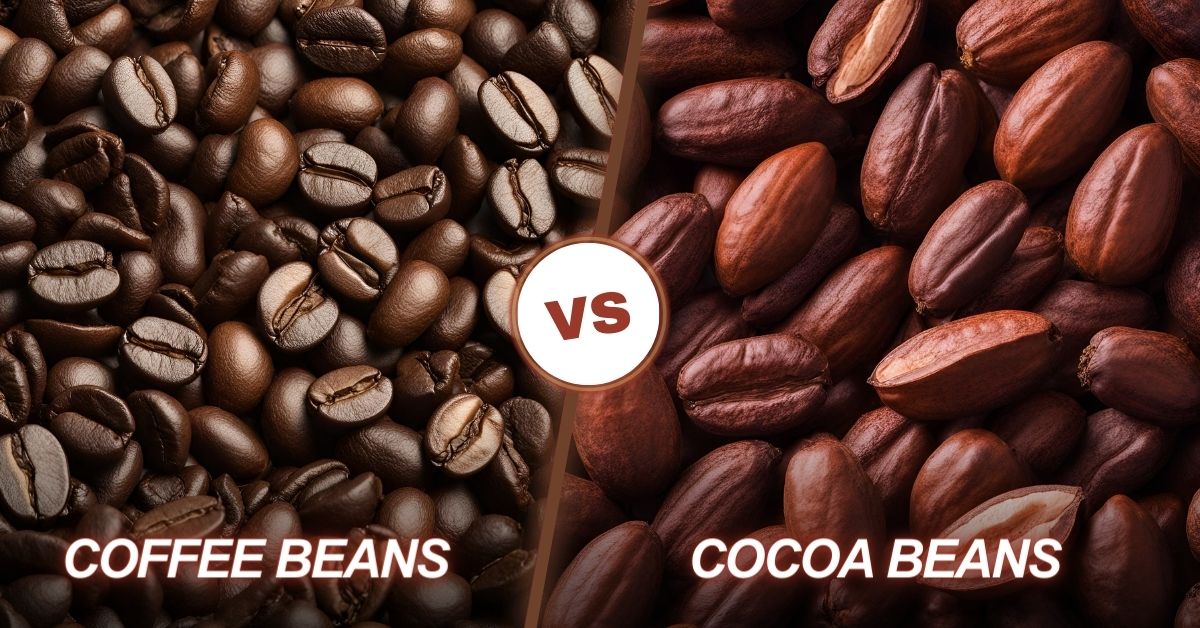
The aromas of espresso and chocolate are universally loved, conjuring comfortable mornings…
-
Can You Microwave Cold Brew?
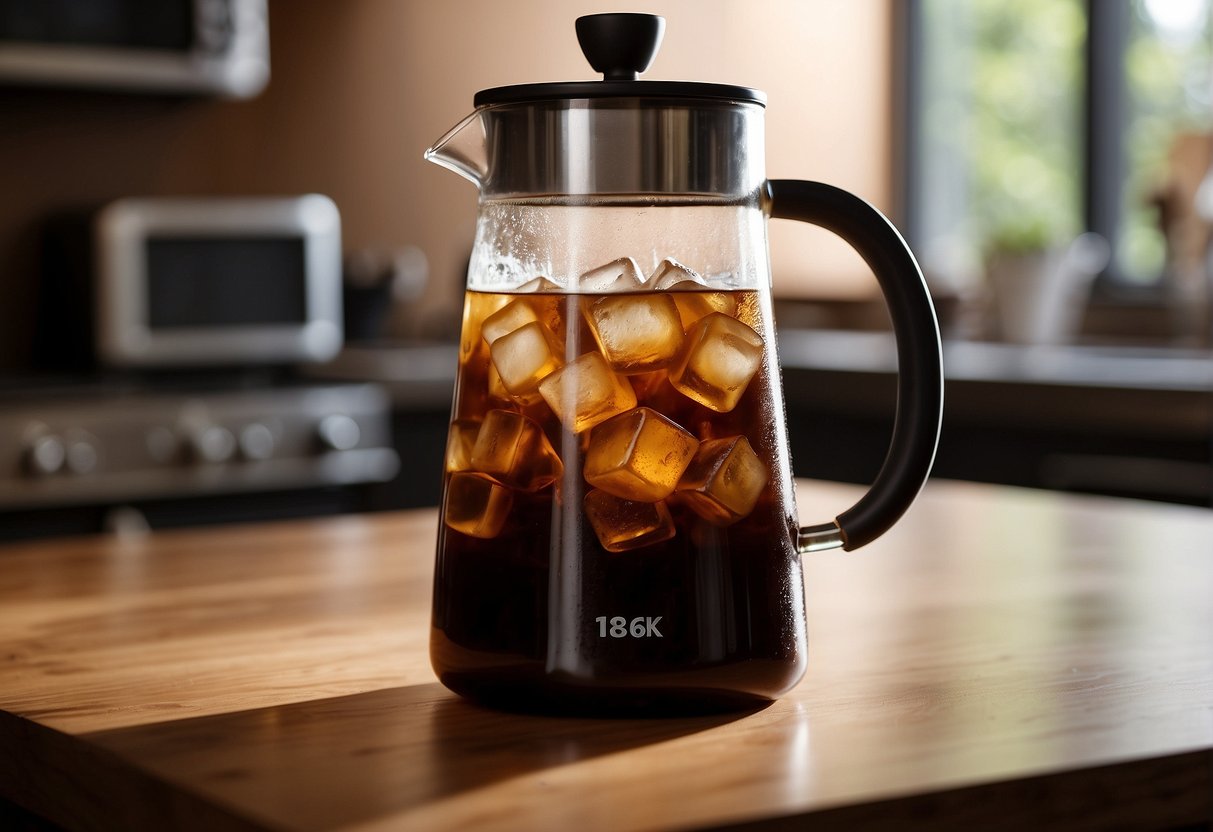
Microwaving cold brew coffee is convenient for quickly heating this beloved beverage.…
-
Can Chickens Eat Coffee Grounds? Safety and Advice

Raising backyard chickens is a popular and rewarding hobby. Many chicken owners…
-
10 Surprising Benefits of Medium Roast Coffee You Should Know

Many people love medium roast coffee because it has a perfect combination…
-
Discover the Arabica Coffee Benefits: A Simple Guide

Arabica coffee is one of the maximum popular kinds of coffee internationally.…
-
Turkish Coffee vs Espresso: A Tale of Two Traditions
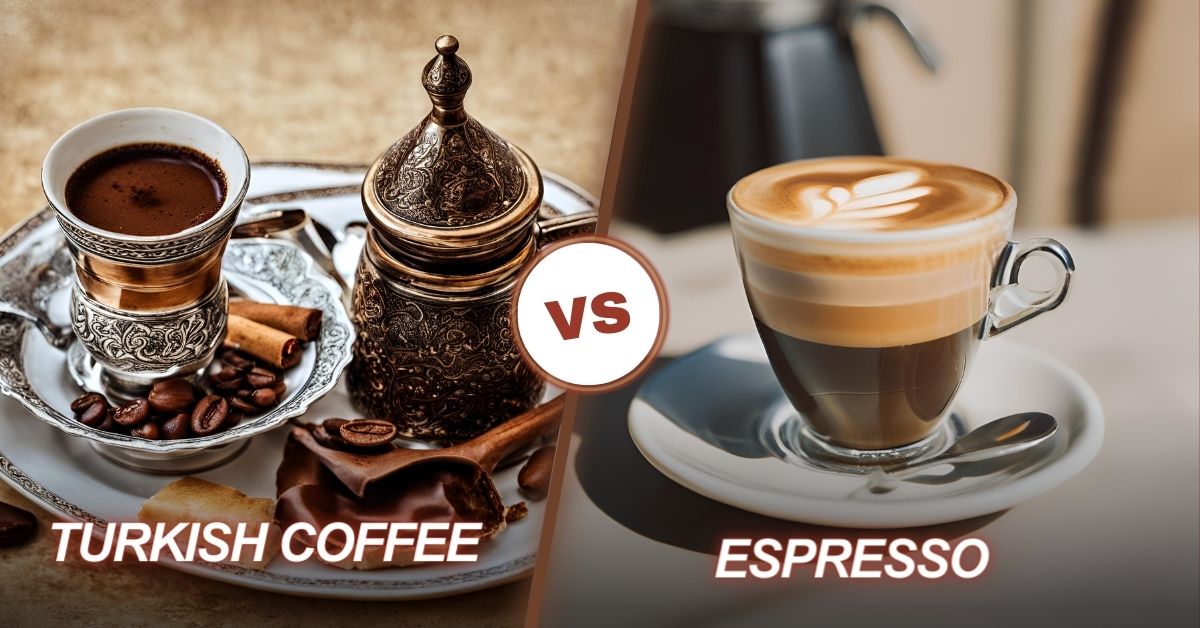
Coffee fanatics around the world experience a wide range of the way…
-
Discover Coffee Oil Benefits for Skin: Enhance Your Skincare Routine
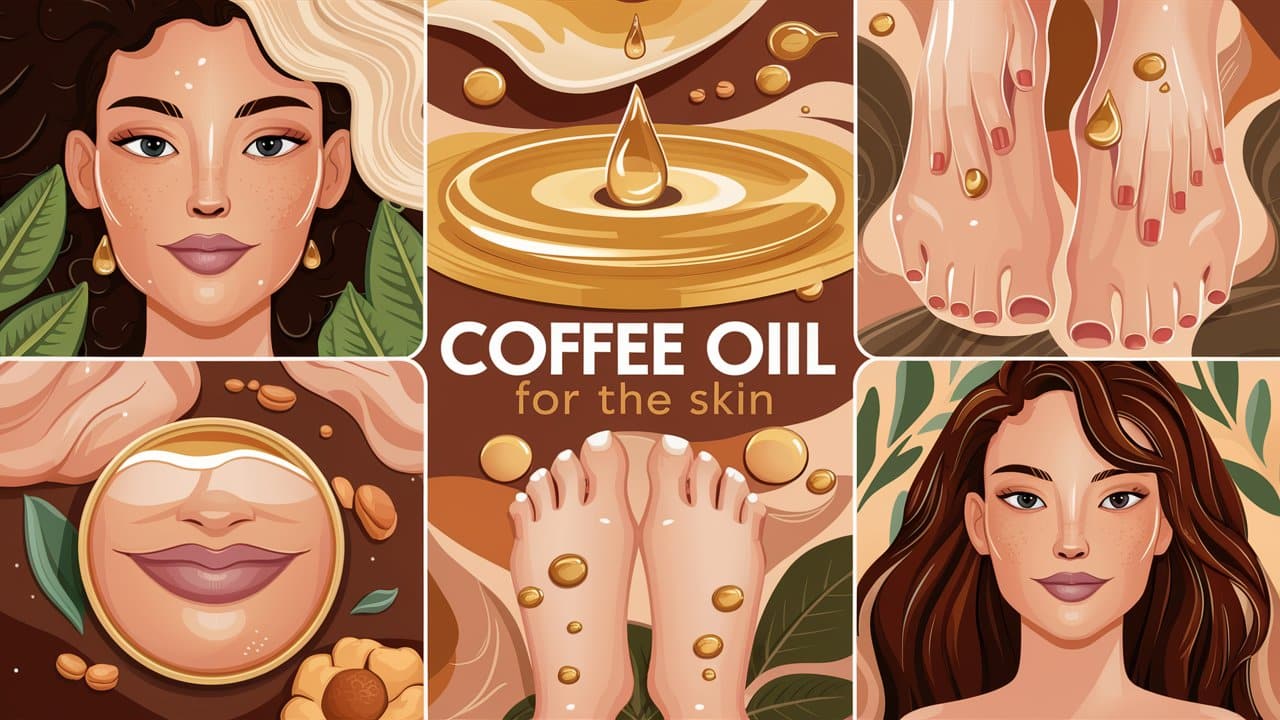
Coffee oil is a high-quality component for pores and skin care. It…
-
Discover the Amazing Green Coffee Bean Oil benefits for Health & Beauty
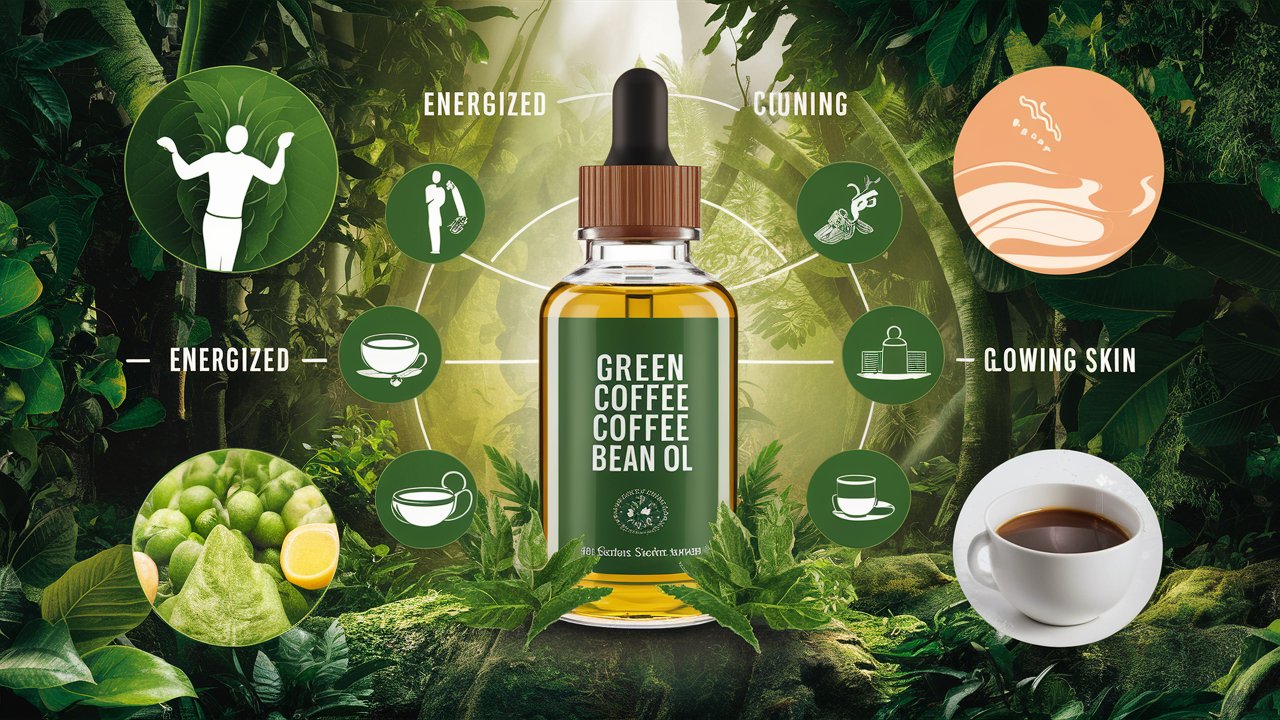
Green coffee bean oil is an incredible natural product with many benefits.…
-
Discover the amazing Date Seed Coffee Benefits
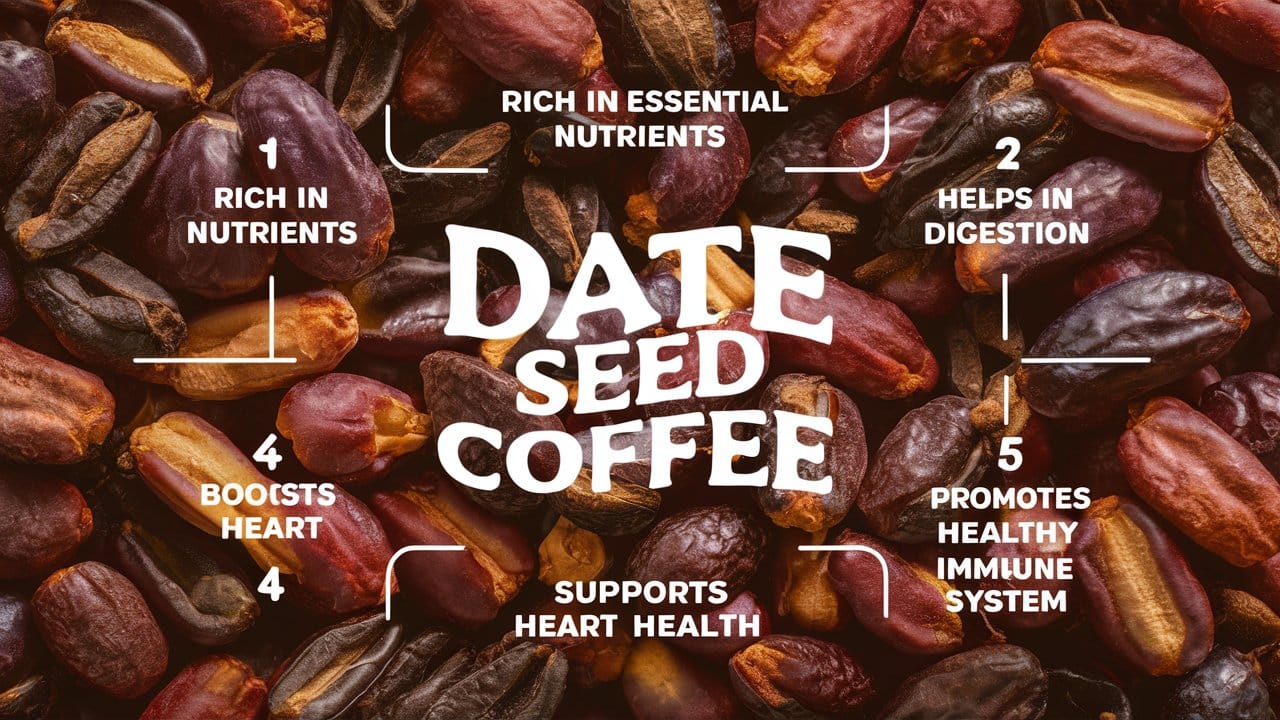
Date seed coffee is a drink made from the seeds of dates.…
-
Discover the Amazing Rice Coffee Benefits
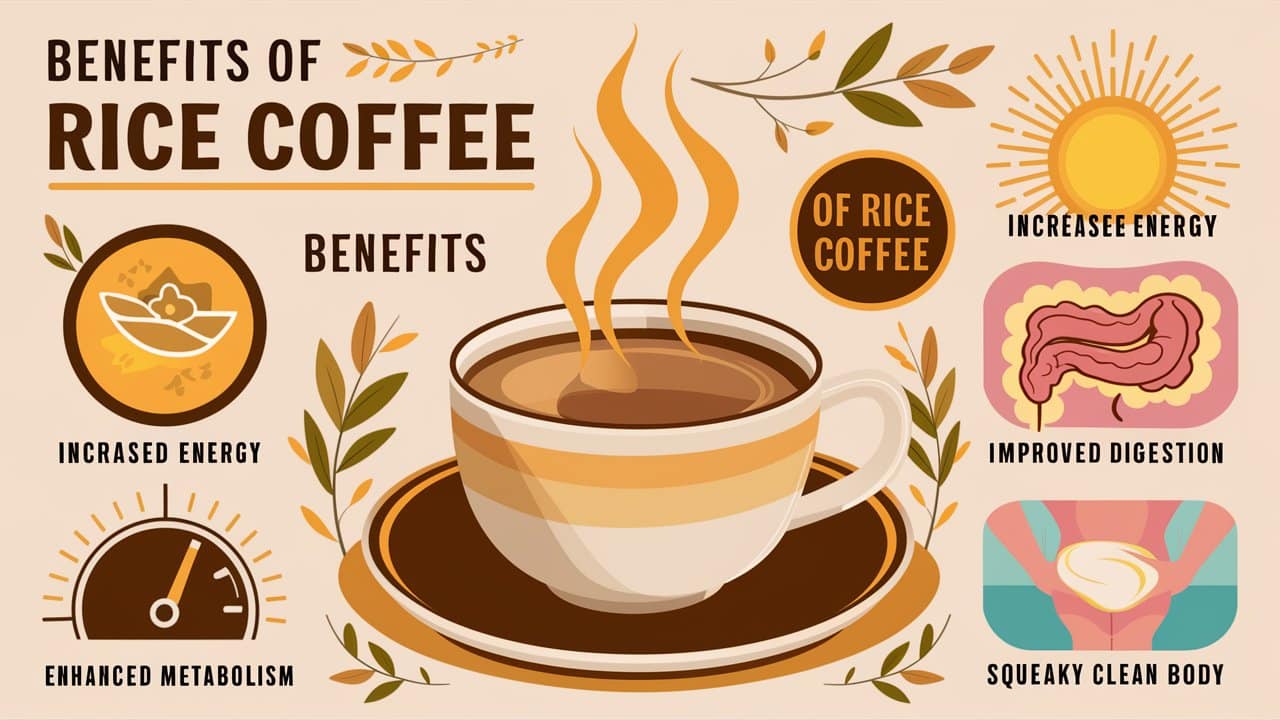
Rice coffee is a unique, caffeine-free beverage made from roasted rice grains,…
-
Discover Coconut Milk in Coffee Benefits for a Healthier Brew
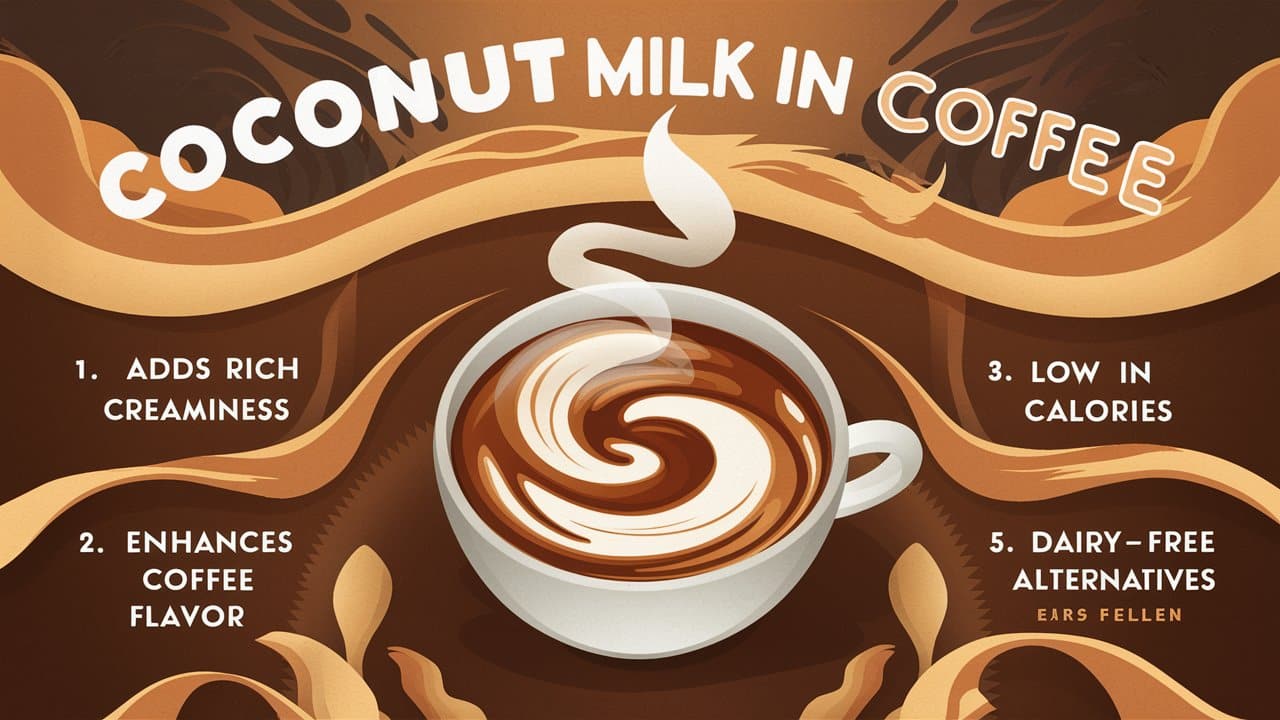
Coconut milk in coffee is becoming popular. More people are trying this…
-
Explore Alkaline Coffee Benefits: Healthier Choice
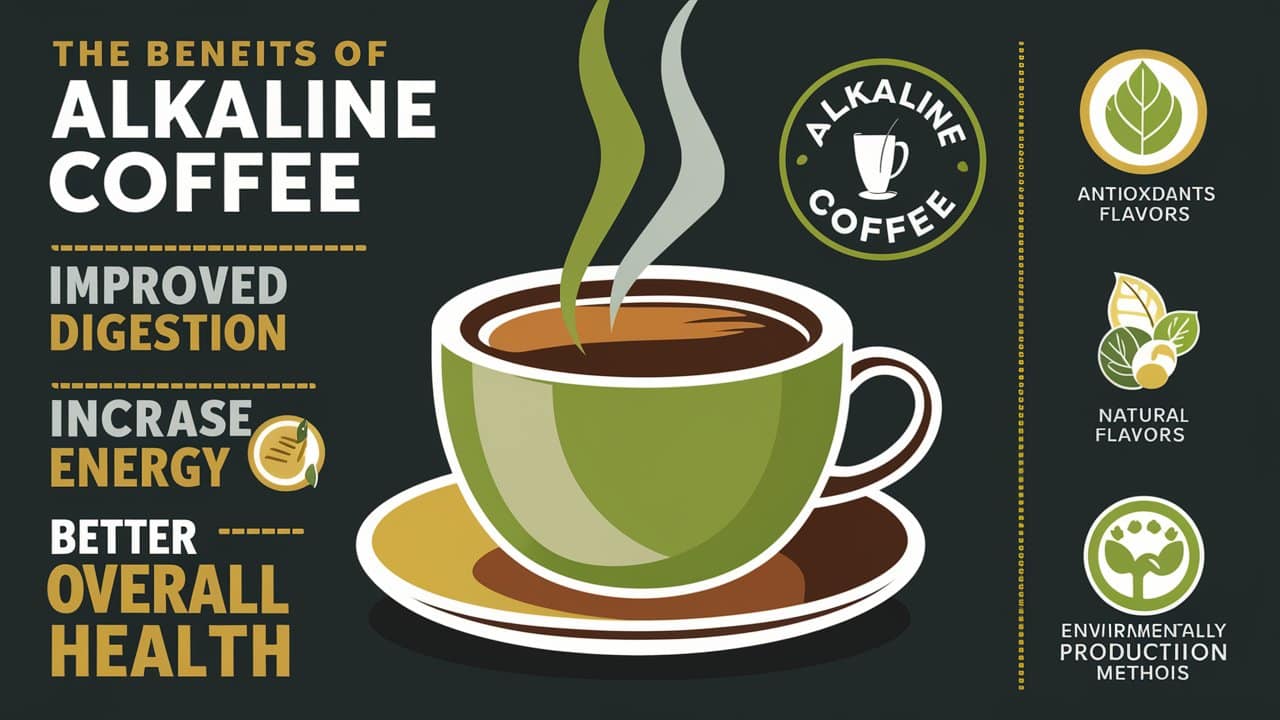
In the quest for healthier beverage options, alkaline coffee has emerged as…
-
What is Egg yolk coffee? & Health Benefits of Egg Yolk Coffee
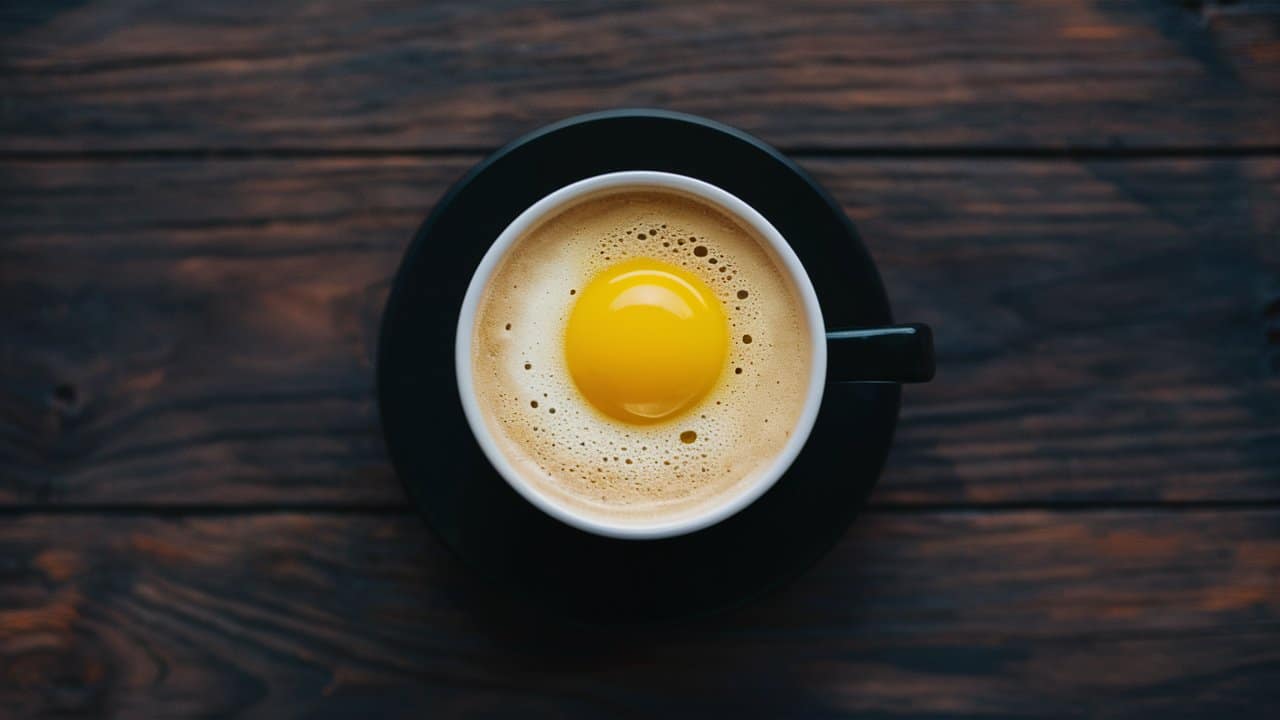
Introduction to Egg yolk coffee Egg yolk coffee is a unique and…
-
Discover Coffee Enema Benefits for Skin: Top Advantages
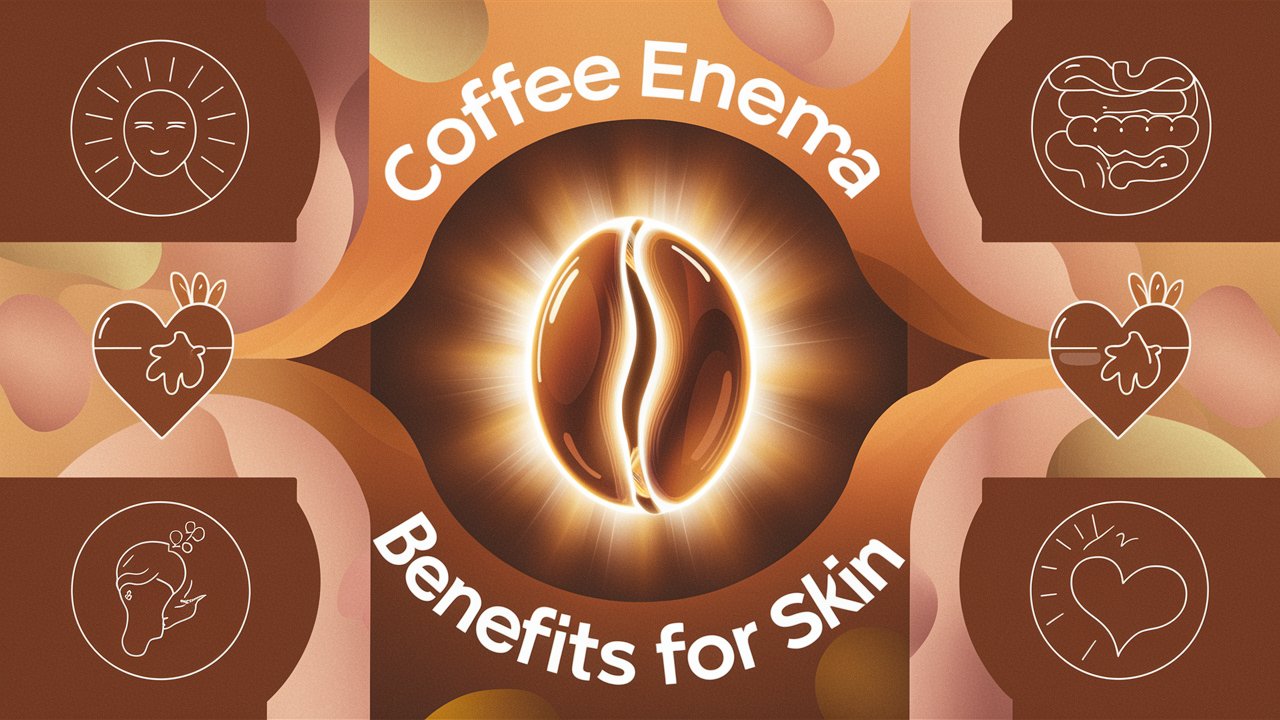
Coffee enemas have been around for many years, commonly used as a…
-
Discover Colombian Coffee Benefits: Rich Flavor and Health
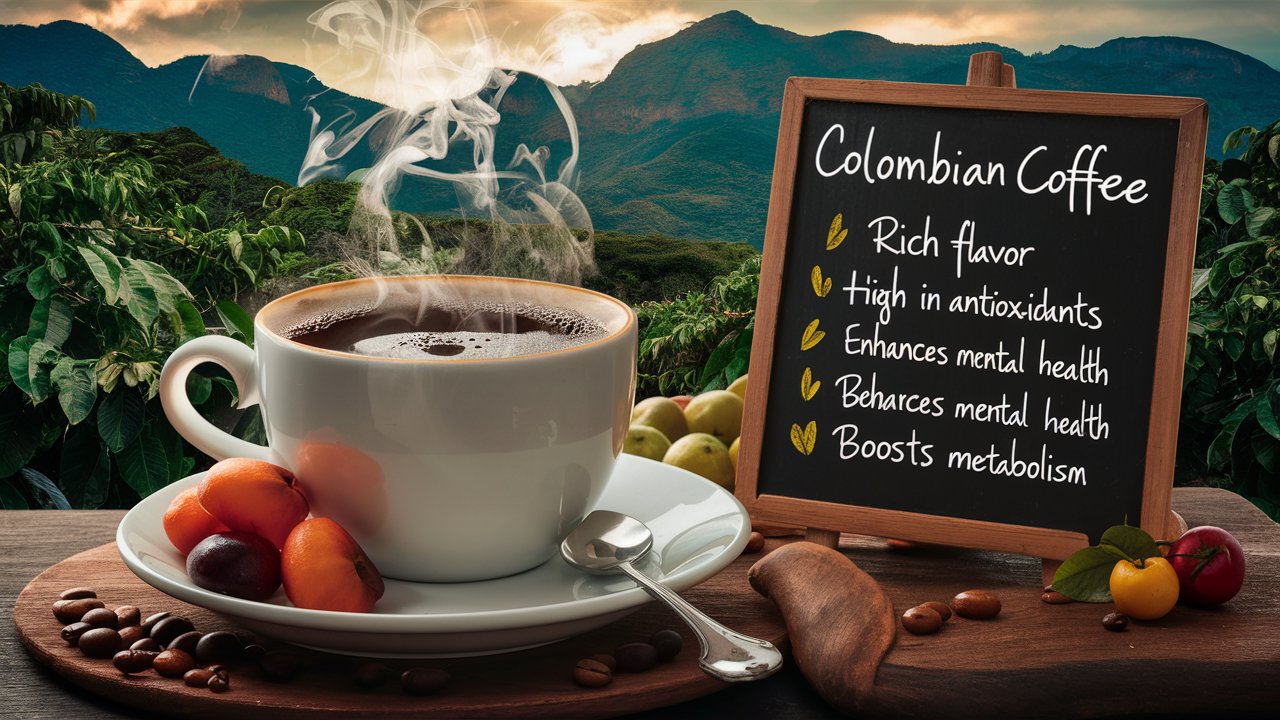
When you think about premium coffee, you almost can’t think about Colombia—the…
-
Discover the Surprising Barley Coffee Benefits for Health
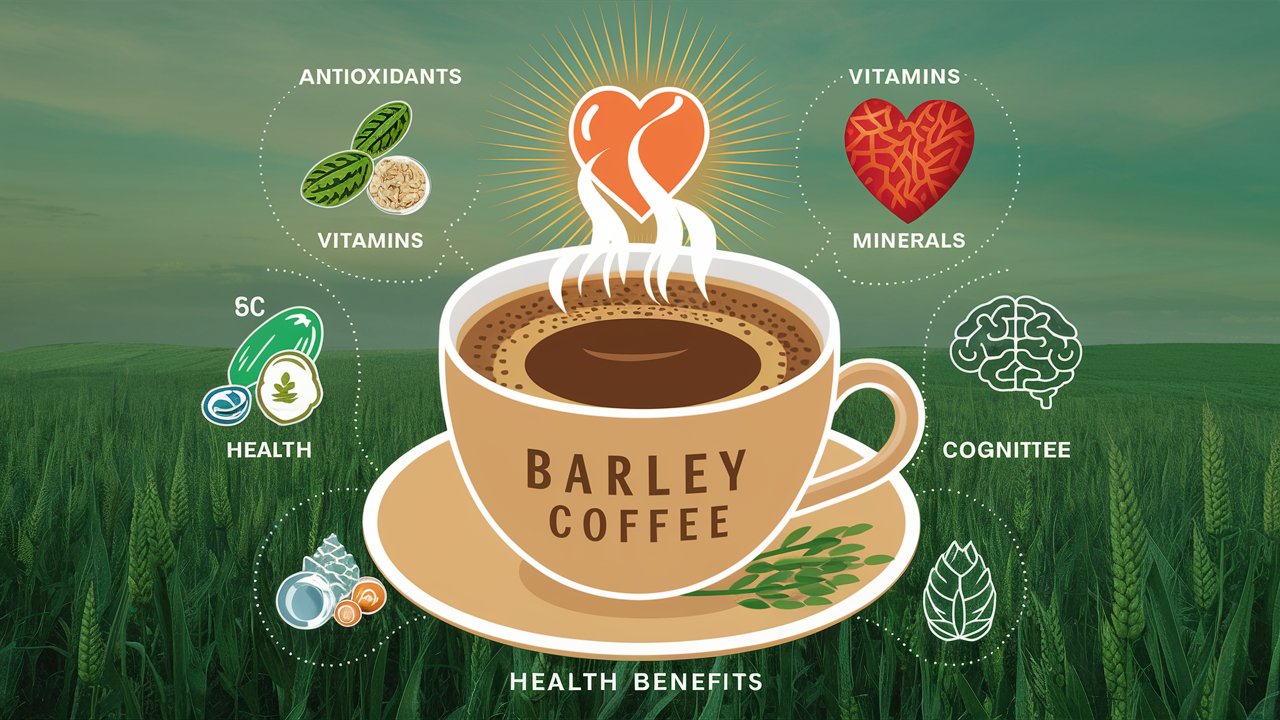
In a world where espresso reigns excellent, there’s a rising star within…
-
Discover Hazelnut Coffee Benefits: Nutritious & Delicious

Coffee has been a favorite drink, sipped with the support of millions.…
-
Explore Sukku Coffee Benefits: Wellness and Delight
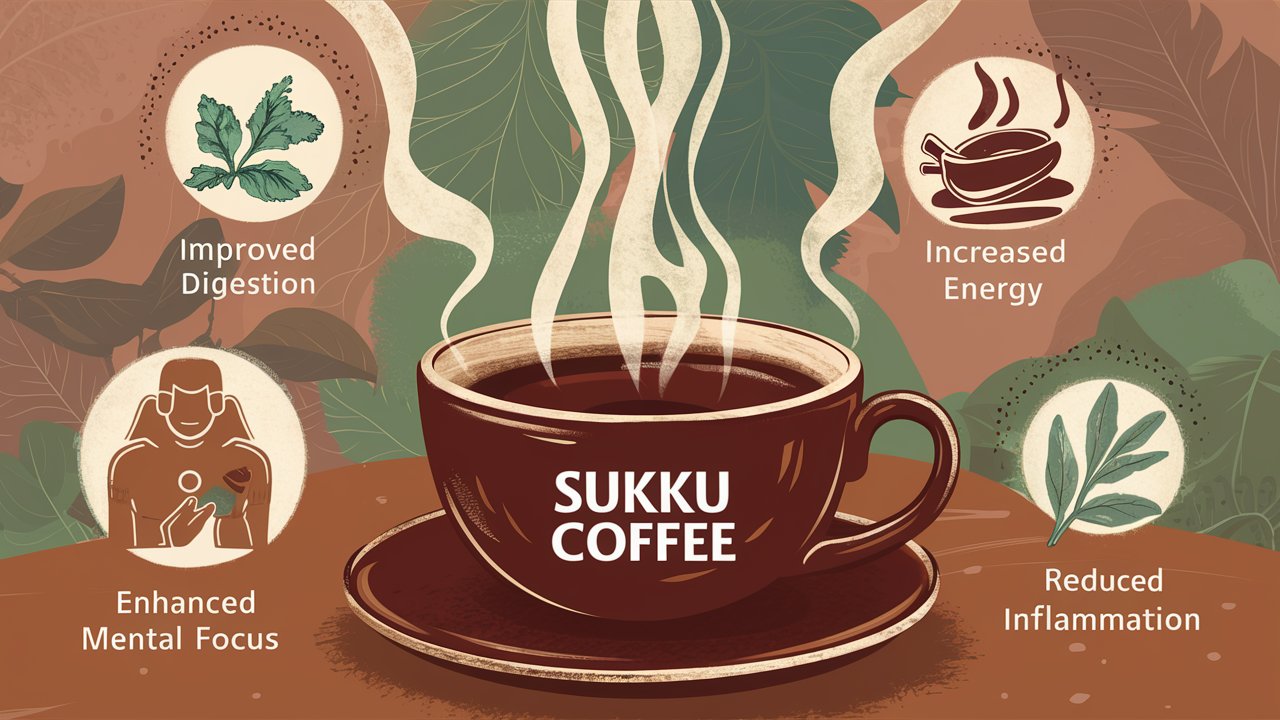
Sukku coffee is a lesser-known yet delicious beverage that has been cherished…
-
Cortado vs flat white: Which is better?

A cortado is tinier than a flat white, but it tastes way…
-
5 Best Coffee Makers For RV in 2024: Complete Guide

In the world of the best Coffee Makers For RV travel, where…
-
How to Choose Between V60 Coffee vs Chemex?

Choosing the right coffee brewing method is essential for a satisfying coffee…
-
Top 5 Best Coffee For Moka Pot: Ultimate Brewing Guide

Developing knowledge about the best coffee for moka pots to use can…
-
Top 5 Best Italian Coffee Beans: Discover Italy’s Finest

Italy may not be where coffee was first made, but it has…
-
French Press Vs Moka Pot: Which Brews Better Coffee?
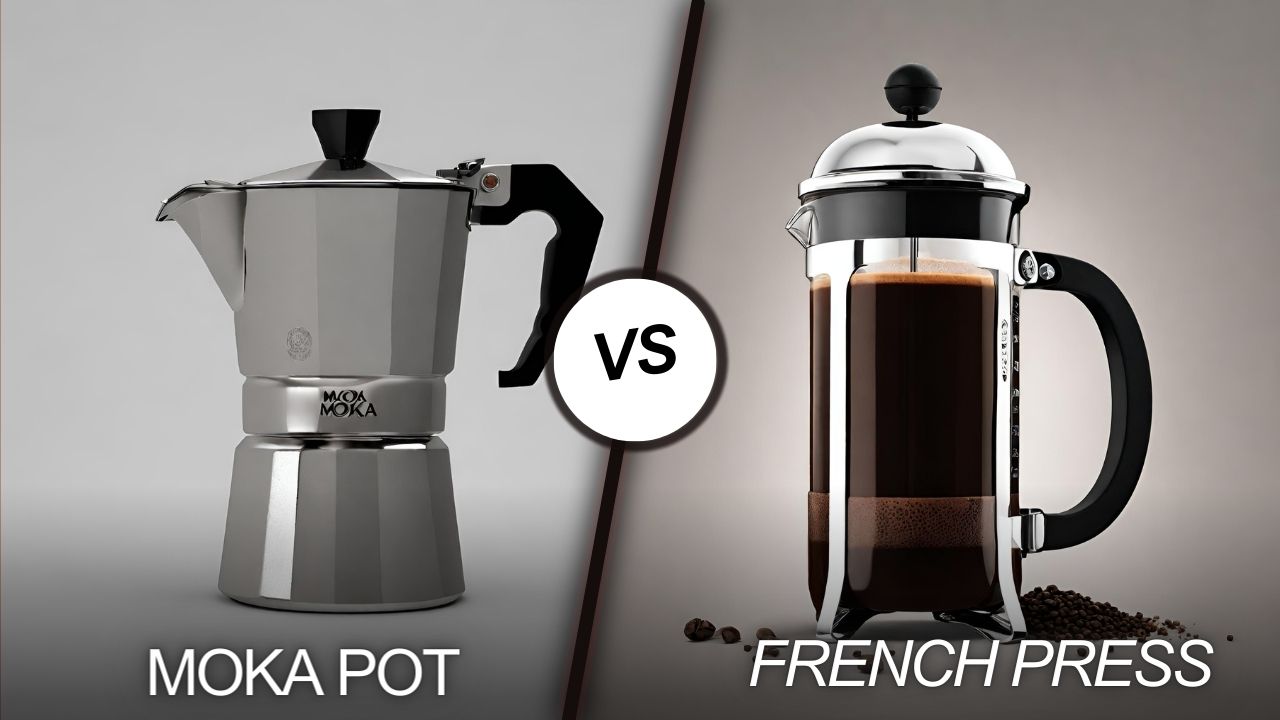
In the search for the right cup of coffee, aficionados often discover…
-
Learn About the Delicate Flavors of Blonde Roast Coffee
Blonde roast coffee isn’t only a desire it’s a discovery an exploration…
-
Top 5 Best Coffee for Percolators: 2024 Expert Picks

The humble percolator, as soon as a staple in every American kitchen,…
-
Top 5 Best Chemex Filters 2024: Ultimate Brewing Guide

The art of brewing coffee is as elaborate as it’s far passionate,…
-
Best Coffee Beans for Latte 2024: Ultimate Flavor Guide

Selecting the best coffee beans for latte can significantly enhance your favorite…